I have been creating a craft for each letter of the alphabet! I can’t believe we are already at R!
R is for Rag Quilt!
I came up with this plan back in September and I was so excited; I made the quilt right then! Soon after, I made another one for my nephew, and I stitched up a third this week so I could give you step-by-step photos. I just really love making these quilts! They are so easy! This is a great first project if you have never used a sewing machine before! I mean, I’m not the most skilled seamstress and even I can do this in a day!
I call these my carseat quilts. I make them just large enough to tuck around a little one after they are all clicked in. This pattern could easily be adjusted to fit any size, but in this tutorial I will focus on the carseat quilt for both an infant and toddler. To make this quilt you will need:
Supplies:
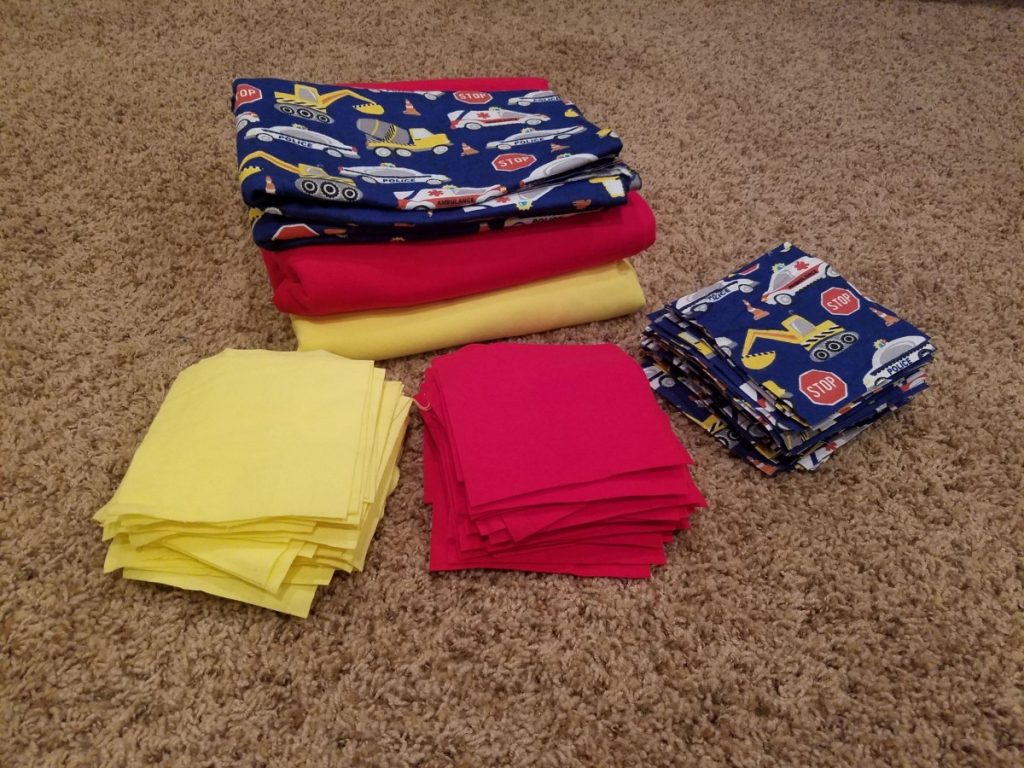
- 3 yards of flannel fabric (for infant size) 4 yards (for toddler size) I do 3 different colors, 1 yard each.
- thread to match fabric
- sewing machine
- pins or clips
- a good pair of scissors
- washer/dryer accessibility
- rotary blade and mat (optional)
First, cut fabric into blocks. Any size will work, but for this quilt I did 5 inch squares. For an infant quilt you will need 98 blocks and for the toddler size you will need 128.
Now it is time to block your quilt. This means you are going to lay it out on the floor exactly how you want it. To do this, get two blocks and place them wrong sides together. This will be the front and back of your quilt. Place it, and do the same with the next square. In the end you should have a giant square (7×7 for baby quilt, 8×8 for toddler quilt).

Now it is time to start sewing! Take your first two block sets ( there should be 2 front and 2 back squares). Place set #1 on top of set #2 and sew a straight line (5/8 inch seam allowance) down the right side of your squares. Then, unfold so your squares are back in their original place. The seam should end up on the top side of the quilt. Place set #2 on top of set #3 and repeat process until the row is complete. Repeat for each row.

Now, sew each row to the other in this same fashion. Place row #1 on top of row #2 (back sides touching) and sew with a 5/8th inch seam allowance. Just sew over the top of your previous seams. It does not matter which way they press down.


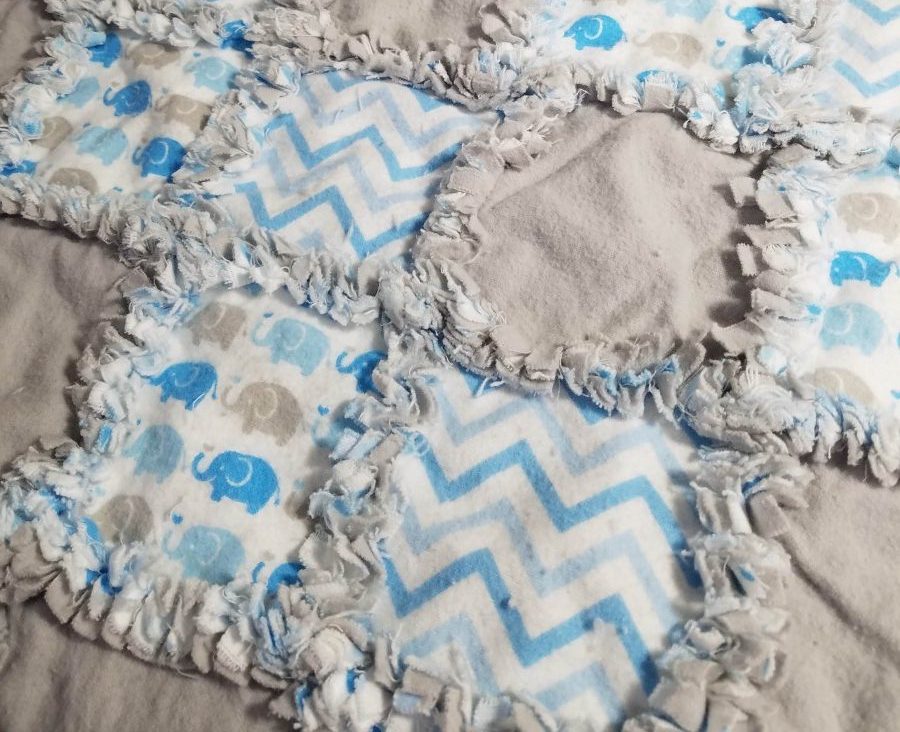
When your quilt is completely assembled, sew a border around the outside of the entire thing (5/8 inch seam allowance). Then, it is time for cutting! Clip every seam (including the outside border) to create a fringe. Make sure you do not cut into the stitching. (If you do, you can always stitch it back up.) No need to measure or cut perfectly, just clip away!


Now, toss it in the washer and dryer! It will make a royal mess! For the darker colored quilt, I washed multiple times before I was satisfied with it’s lack of shedding. The light colored quilts only needed to be washed and dried once.

You are done! Remove any lint balls or strings if necessary.


You did it! Make sure to share your completed projects with me! Happy crafting!

Bonus:
For science (actually because I messed up) I wanted to show you what an unclipped seam would look like after being washed. I much prefer the clipped look.


Great idea! Do you think this would work with fabric other than fleece? Like denim or cotton?
Great question! It will work with any fabric that will fray (denim, cotton, flannel) but not any that run (nylon, jersey, spandex).