I’m so excited for today’s tutorial! I made my first glitter night light back in September and it was quite popular on Instagram and Pinterest! I’ve been wanting to do a tutorial for you guys for a while but, ya know, #momlife. But now, I have teamed up with Backfist Customs Glitter to teach you how to make this special dollar store DIY. If you are on Instagram make sure to go check out my post to enter to win your own set of glitter!
Supplies:
- Night light from Dollar Tree
- Mod Podge or clear nail polish
- Glitter!
- Vinyl/transfer tape or sticker
If you are a visual person, here is a video! If you would rather have written instructions keep scrolling!
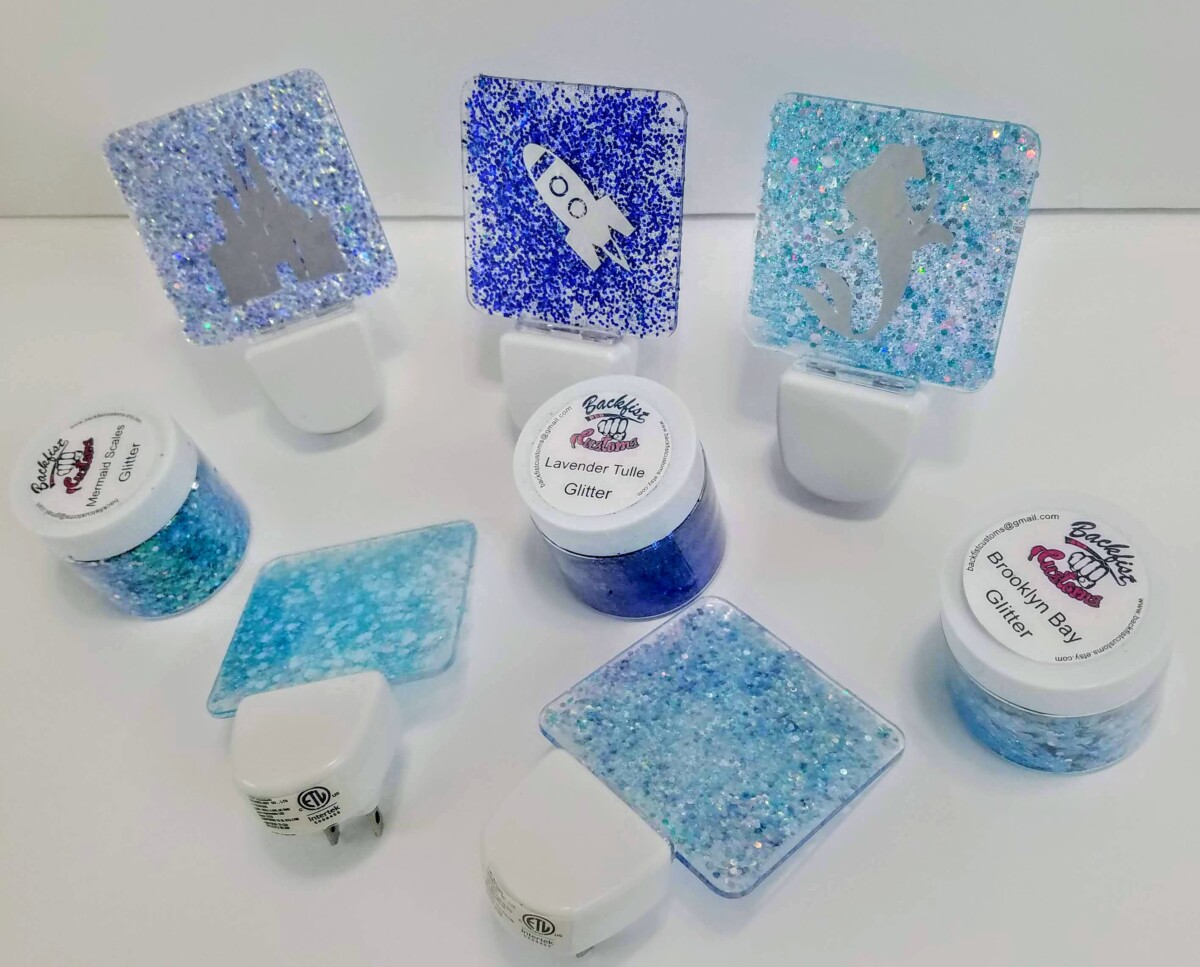
Start by cleaning your night light. Use a tissue and a little bit of rubbing alcohol to remove all dust and lint. Then, apply a layer of mod podge or clear nail polish on the back side of the plastic square. Lightly sprinkle glitter. Make sure there are still some places for the light to shine through. If your glitter has holographic pieces like the Mermaid Scales or Brooklyn Bay glitter I used, you can cover the entire thing. If there are few/no see through glitter pieces, use less glitter and have gaps for the light to shine (like I did with the Lavender Tulle glitter).
Once your first layer has dried, apply a top coat of the mod podge or clear nail polish. This will keep the glitter in place. When applying this second layer, make sure you place glue on the whole surface before swiping your brush. You don’t want to swipe all of your glitter off!
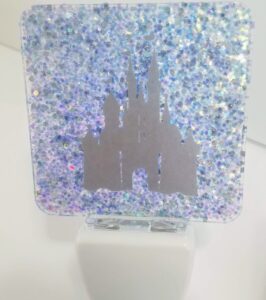
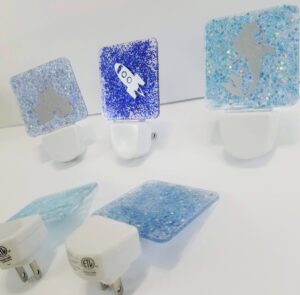
When that is dry, you can apply a decoration to the front side! I like to keep it simple, but with a metallic flare. It looks so beautiful once the light is shining! Make sure to watch my video to see these easy projects in use!

Backfist Customs Glitter did provide the glitter for me to use in the tutorial as well as the glitter I am giving away on Instagram! Make sure to check them out! If you have any questions leave them in the comments! Happy Craftin’!