
Have you heard about Canva yet? I’ve been using it for a few years now, but I have had so many people ask about it. Is it as easy as everyone says? Yes! Let me show you!
Step 1 – Decide what you are making!
Let’s be honest, this can often be the most difficult part. I would recommend starting off with something simple like a basic card or social media post, just until you get the hang of things.
Here is one of my first projects. It’s a little Christmas card from 2020!
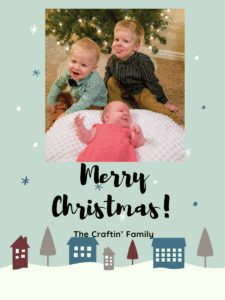
Cute, right? And let me show you how simple it is to make something like this!
Step 2 – Create an account
This is a pretty standard account process. They will try to sell you lots of things, and I wouldn’t recommend getting any of them to start. I have happily used Canva for five years and have never paid for a subscription. (Though I did do their free trial.) Are there more options if you pay. Of course! But for your average user, if you are patient, you can totally get by with the free version.
Step 3 – Pick a design
Once you are all signed in, your screen will look like this.
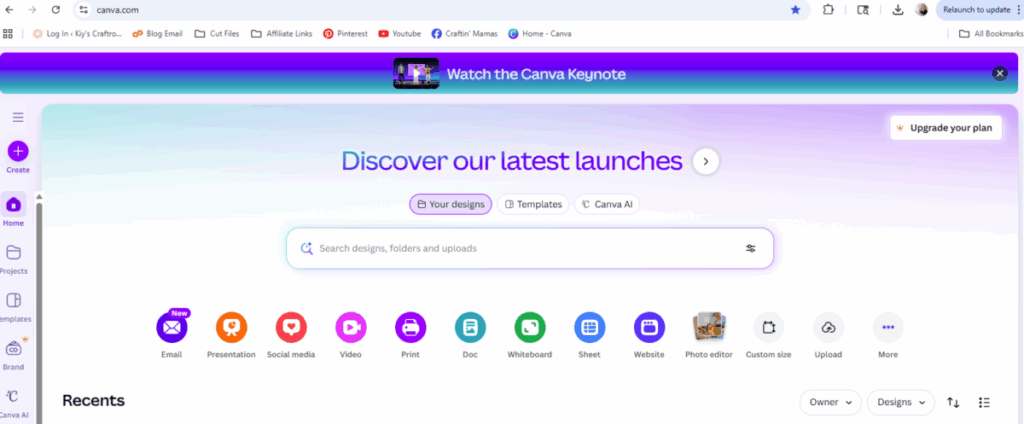
Go ahead and click the purple + sign on the left side that says “Create”.
Now your screen should look like this.
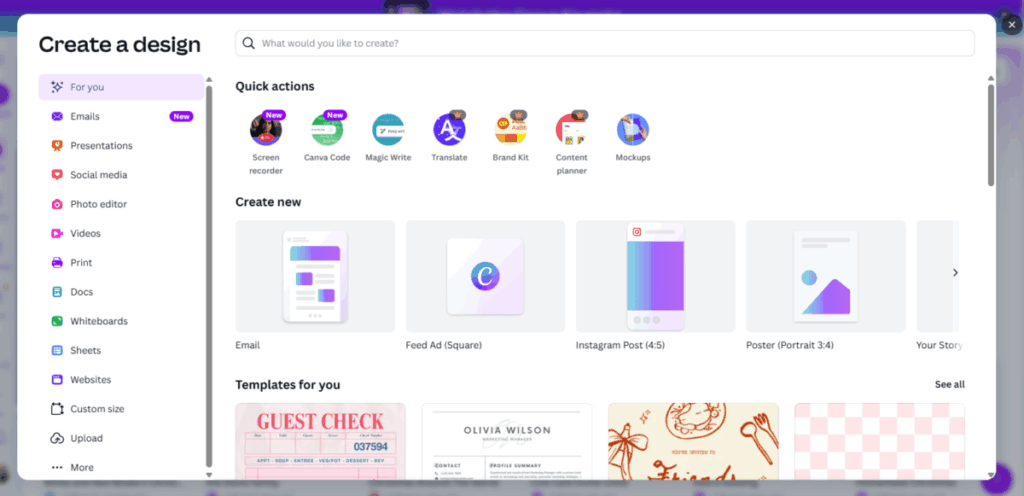
This is where you decide what shape and size you want your project to be. I love how Canva knows what size things should be! It makes life super easy! But sometimes, the thing you want is not there. You can always create a custom size if needed. Today, we are going to be making a simple card. That doesn’t show as one of the side options, so go ahead and type it in the search bar.
Side note: If you aren’t really sure what size you want something, I opt for the ‘poster’ setting. It’s a good blank canvas to figure things out on. And you can always resize later.
Alright! Here’s what it looks like when you search card. If you hover over the options, it will show you the size. Go ahead and click on the 4×6 Card (Portrait). For me, that was the third one in.

Step 4 – Choose a Template
Canva has many ways to customize, but the nice thing is, you don’t always have to! I love being able to make something in minutes with a premade template, and that is what I would suggest for your first project.
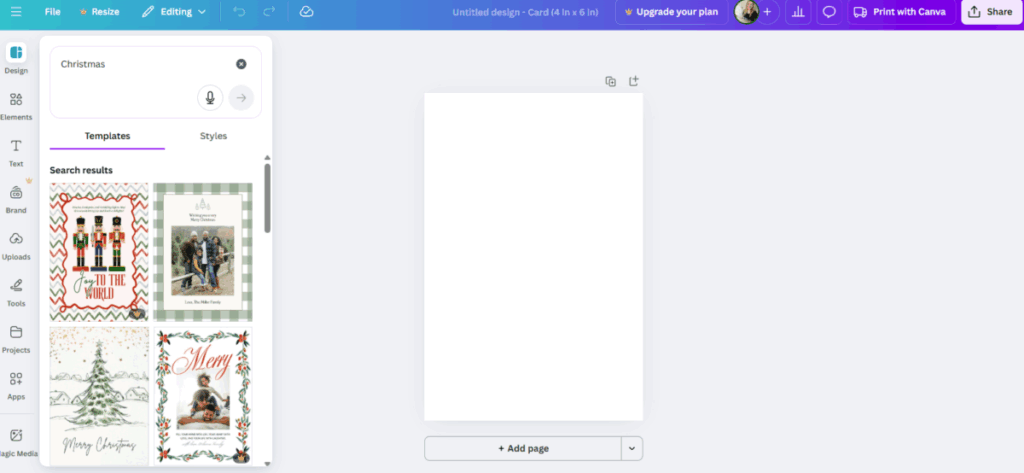
Your screen should look like this.
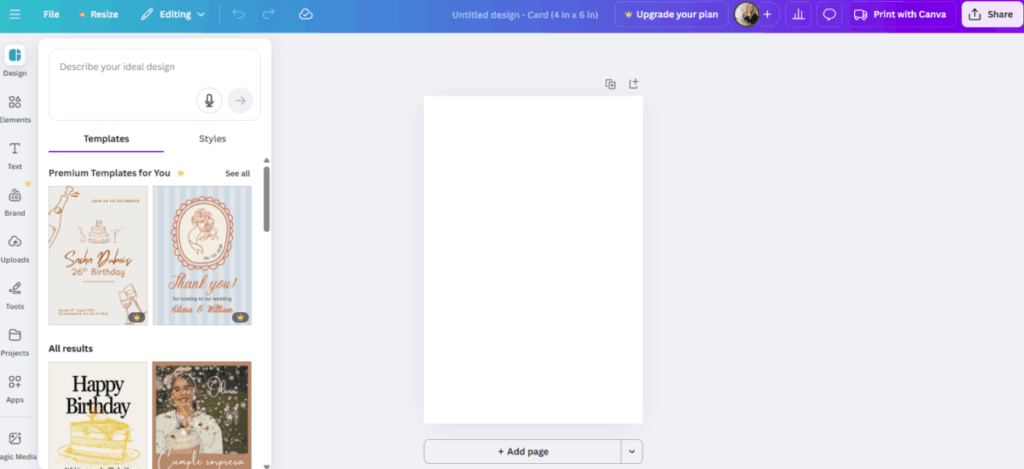
Where it says “Describe your ideal design” go ahead and type “Christmas”. You can be more specific if you’d like, but I like to start generic and add more later if I can’t find what I want. Sometimes their designs are better than what I’m picturing in my head!
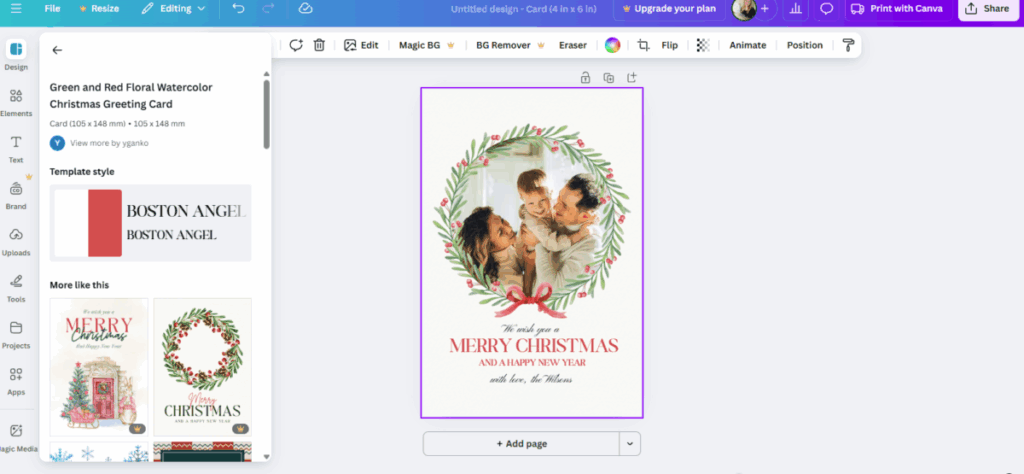
Now you can scroll through a pick a design you like. If it has the little crown by it, that is a premium design, and you need to have an upgraded plan for it. There is a free trial if you like, or simple find a different design. Unfortunately there are not nearly as many free designs as there used to be and there is no way to filter to only see the free, but there is always something nice if you take a few minutes to look.
Once you have a design you like, click on it and it will fill your page. I went with this cute wreath.
Step 5 – Upload your image
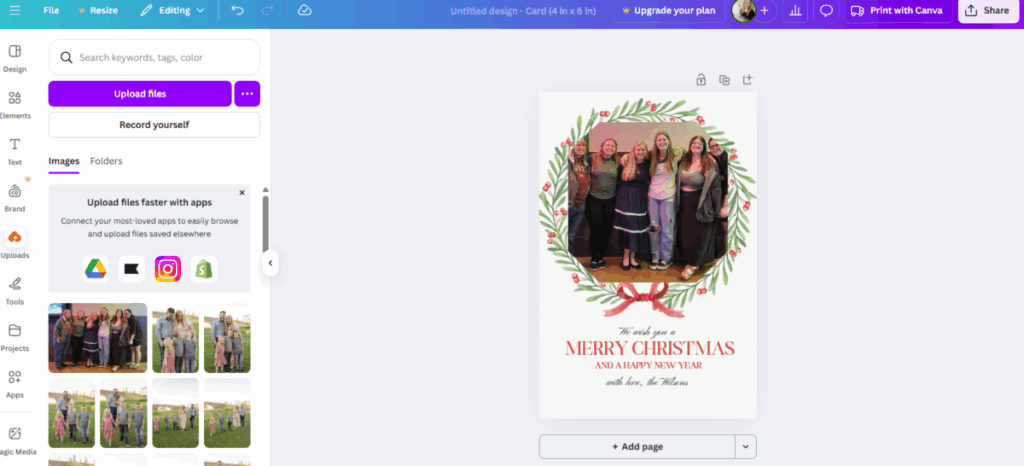
If you have picked a design with a photo, you probably don’t want it to be of strangers! So you need to upload a picture of your own! Go ahead and click the “Uploads” cloud button on the left side. It will take you to a screen that looks like this. Though yours won’t have any pictures in it yet.
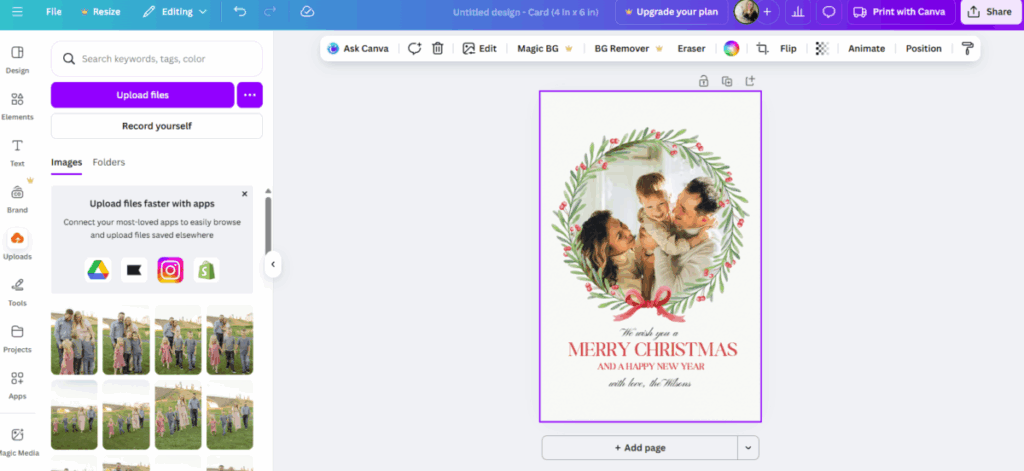
Go ahead and pick the purple “upload files” button and find an image from your computer that you like.
I choose a picture of me and my sisters at the Seeking Persephone movie early screen showing! It’s a great movie! Can’t wait for it to be officially released! Anyway, my design now shows up with the other pictures.
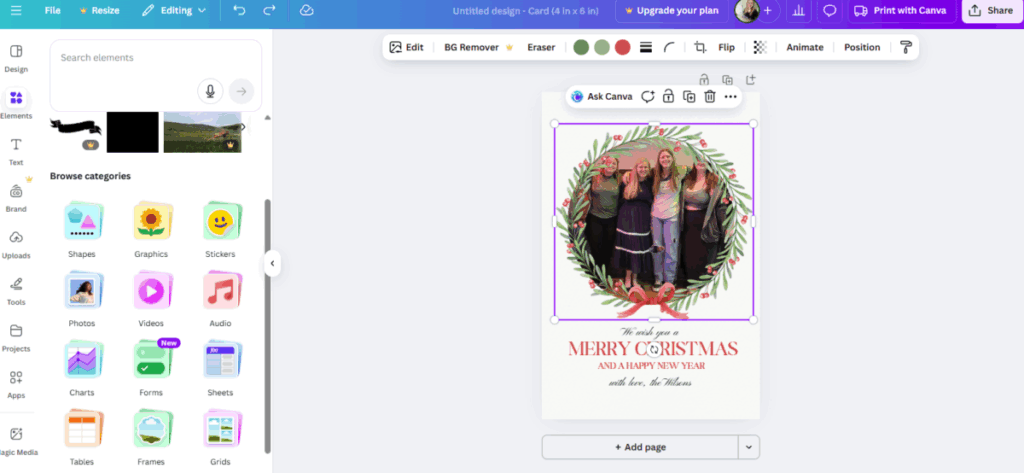
Go ahead and click on your image and it will appear on your page.
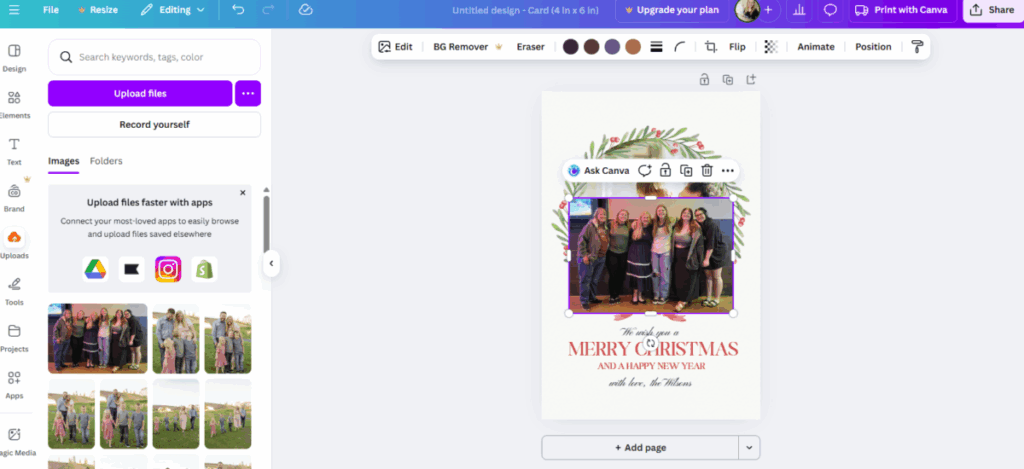
But we want it to fit in the circle. So go ahead and long press on the photo and move it over the circle. It might take a few tries, but eventually the image will jump inside. You may have to move the decorations around a little, depending on your design. Sometimes they get in the way. But don’t worry, you can always move it back once the picture is right.
Hint: If you double click on your image, you can crop or recenter it.

Now, you’ll notice most of the picture is cut off. That’s because I didn’t pick a picture that was a good size for the shape. There are a few ways I could fix this. 1. Pick a different picture. or 2. Pick a different shape.
Now, a different shape is probably not going to look very good with my wreath, but for the sake of the tutorial, let me show you how to do that!
Step 6 – Change Photo Shape (if needed)
Go ahead and click on the “Elements” button on the left side. It has a bunch of little shapes by it.
Your screen should look like this. Find the button that says “Frames” and has a picture of a cloud and grass.
Now it will show you a bunch of different ways you could change your photo. Go ahead and try a few out just to see what they look like. Again, just hover your image over the shape until it jumps inside.
This octagon shows most of the people, so I’m going to stick with it for now. Time for the next step!
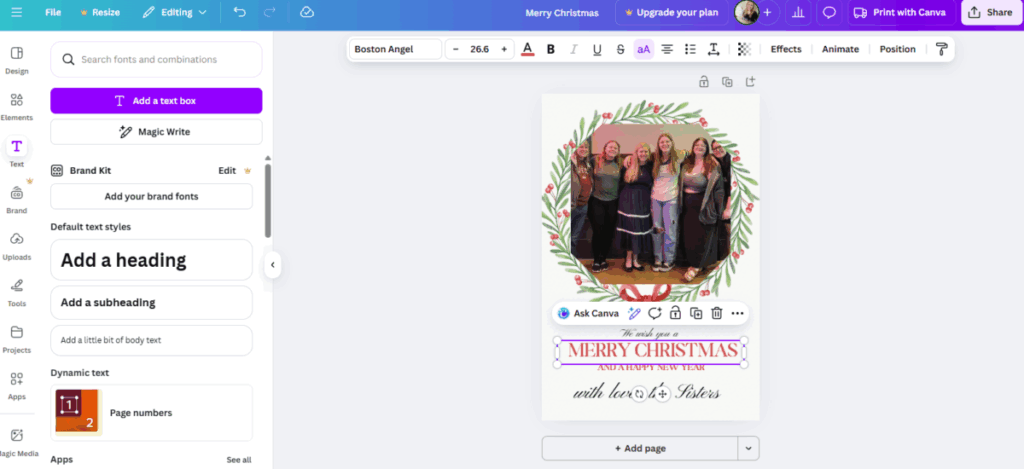
Step 7 – Alter Text
Customize the message any way you choose! Simply double click on the words and type. You can also change the font, color, or size with the tool bar at the top. If you need to add another text box, click the “Text” button with a big T on the left side.
Step 8 – Finishing Touches
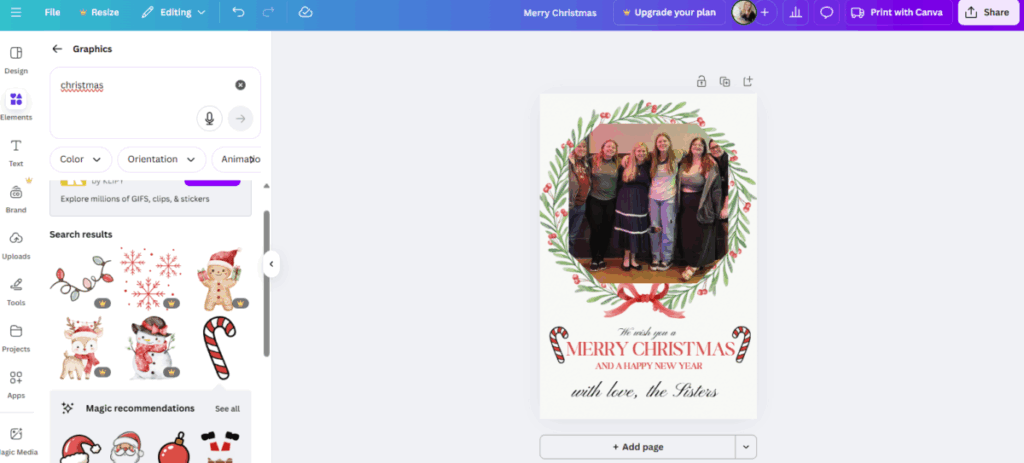
Want to make it just a little more fancy? Go ahead and add some extra elements! Go back to the “Elements” tab and add shapes, graphics, or stickers.
I decided to add a few candy canes.
One thing I love about Canva is it’s alignment tools. It will help you make sure everything is centered and beautiful.
Step 9 – Save
Canva autosaves to your account, which is so helpful! But if you want to print your card or send it to someone in an email, you need to save it to your device. Go ahead and click the white “Share” button on the top right corner.
Now your screen should look like this.
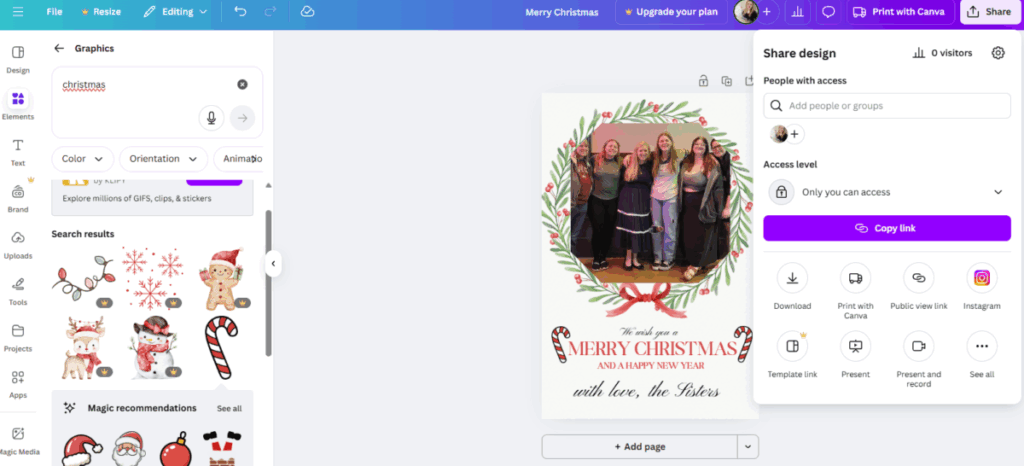
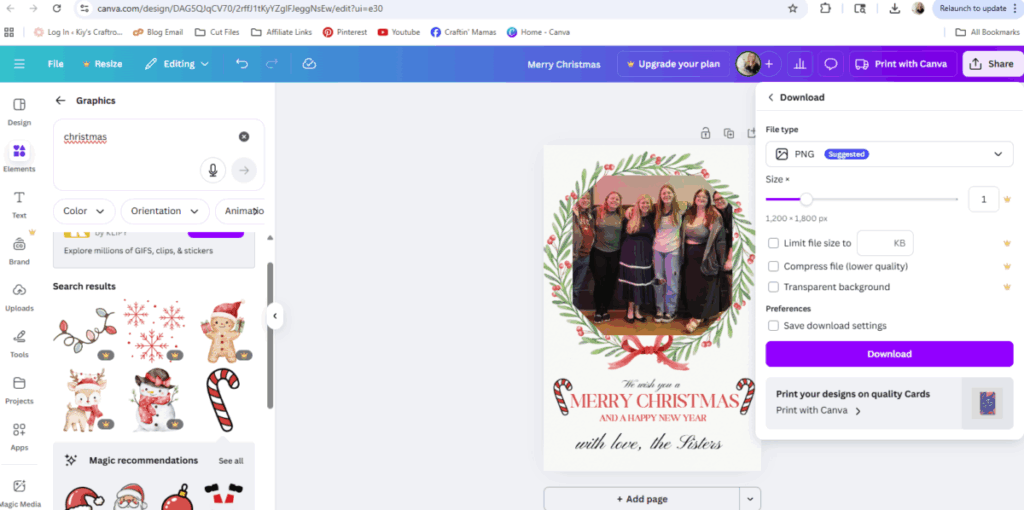
To save it to your computer, click “Download”.
You can change the file type if you like, or simply click the purple “Download” button.
Step 10 – Become a Pro!
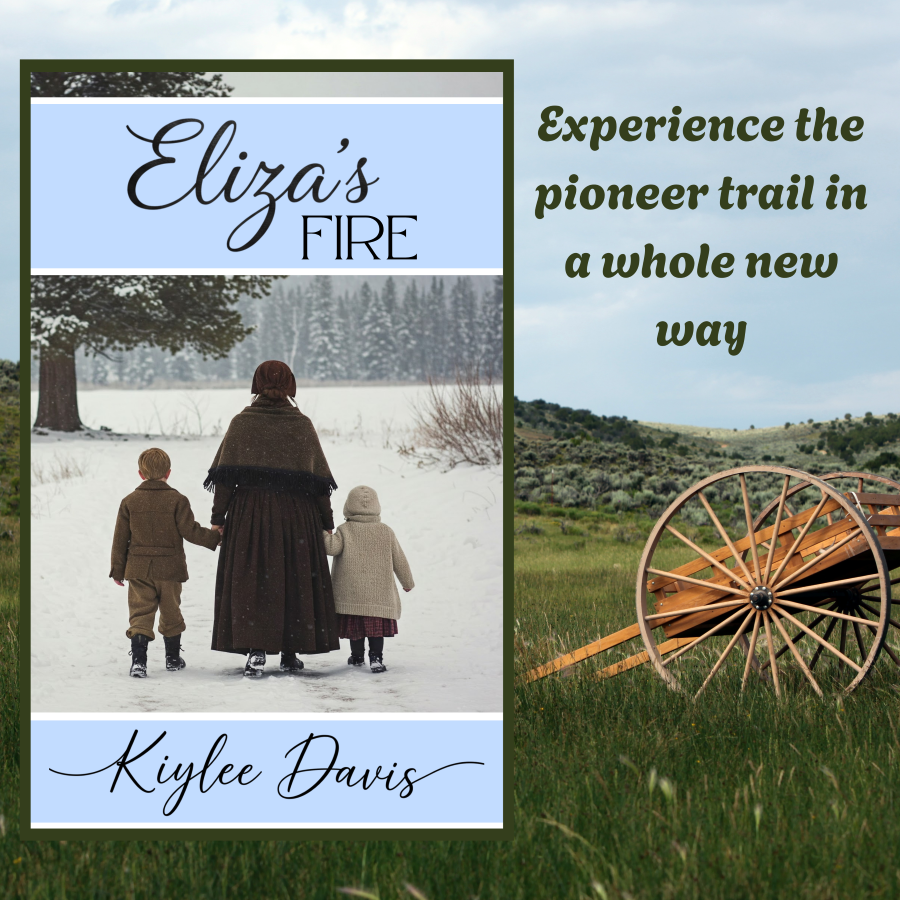
You will get the hang of it and soon you will be making amazing projects. In fact, I used Canva to make my own book cover! Available now on Amazon. 😉
If you liked this tutorial and want a part 2, go ahead and leave a comment. Happy craftin’!